
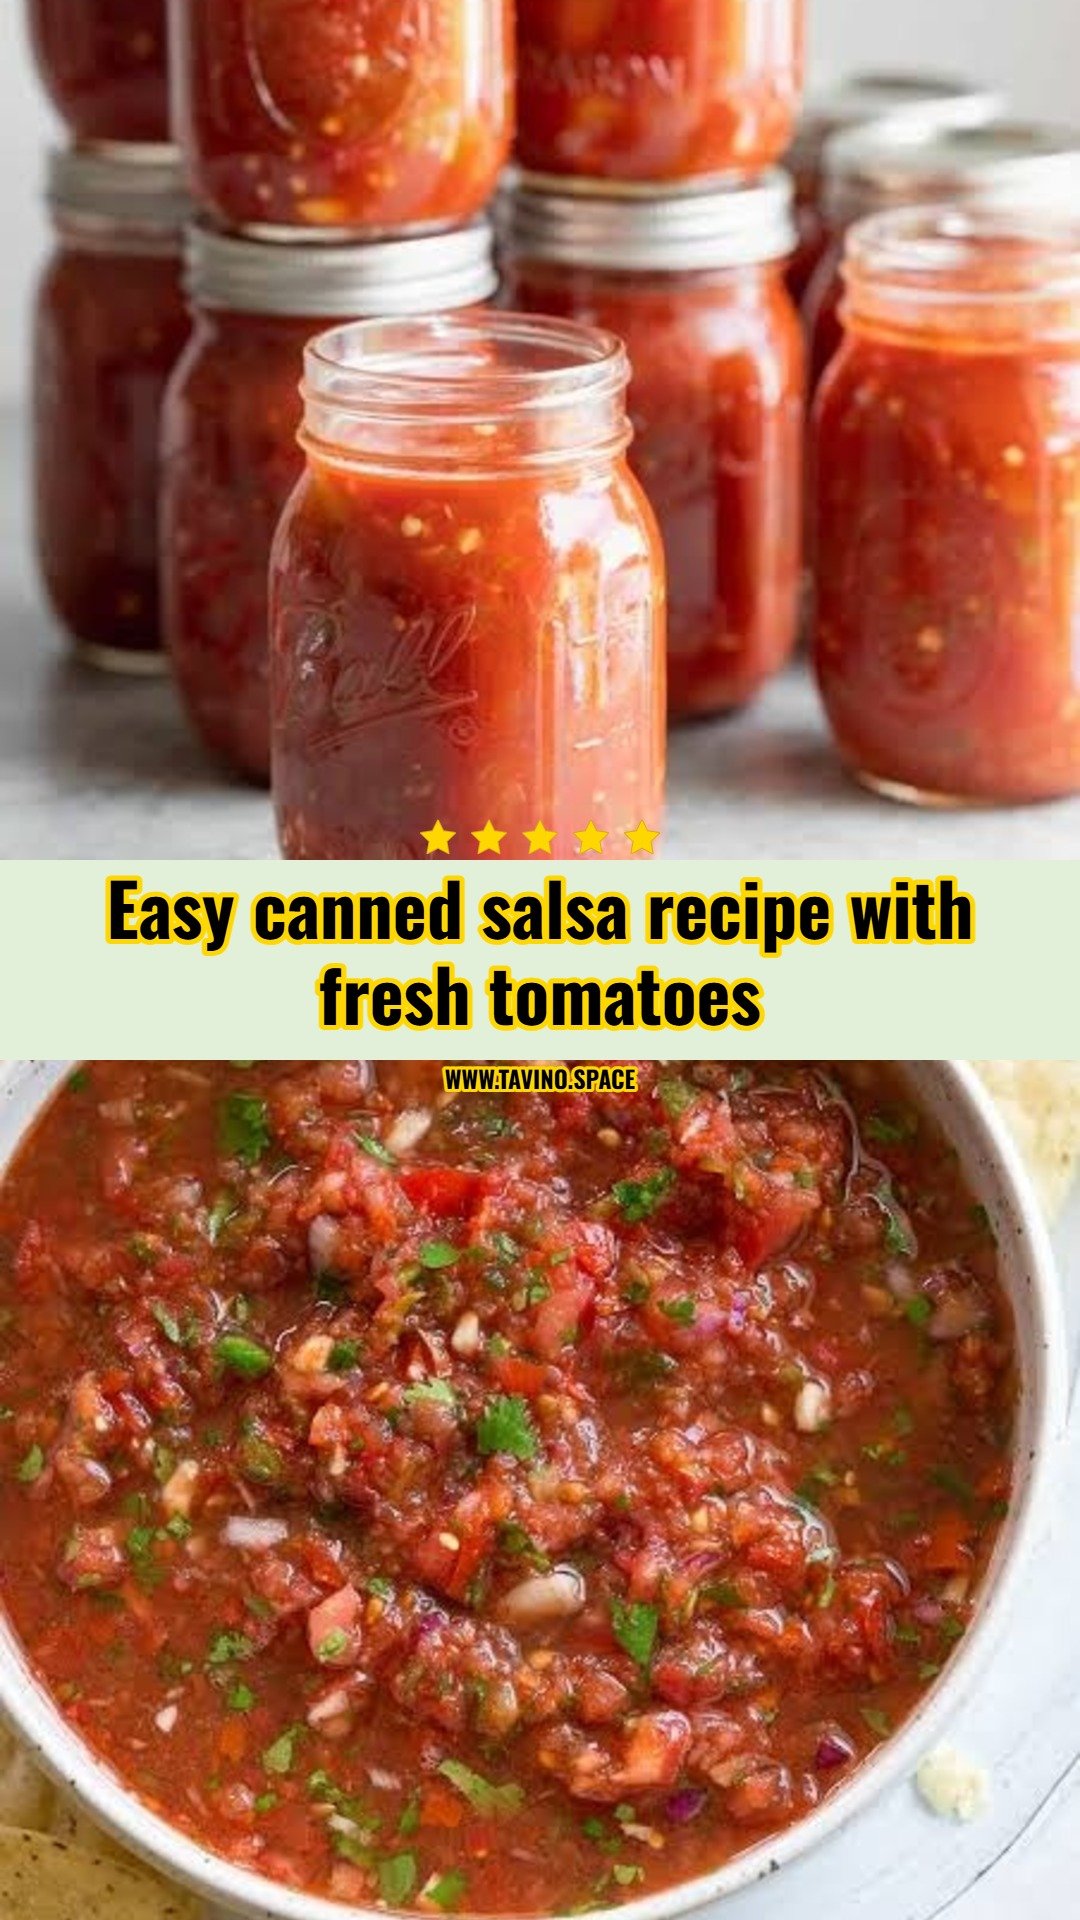
There is a unique joy in capturing the peak of summer harvest and locking those bright, garden-fresh flavors into a jar. When your tomato vines are heavy with fruit and the kitchen is filled with the scent of fresh herbs, it is the perfect moment to create a pantry staple that outshines any store-bought alternative. 🍅
If the thought of water bath canning feels a bit daunting, rest assured that this beginner-friendly method simplifies the entire process while keeping food safety at the forefront. We have meticulously balanced the natural sweetness of ripe tomatoes with crisp peppers, zesty onions, and essential acidity to deliver a vibrant salsa that pops with flavor. 🌶️✨
Get ready to stock your shelves with jars of homemade goodness that will instantly elevate taco Tuesdays, weekend gatherings, and impromptu snacking sessions. Let us roll up our sleeves and dive into this rewarding preservation project that brings a splash of summer sunshine to your table all year long. 🥣
45 minutes
30 minutes
1 hour 15 minutes
Makes 6 pint jars
Ingredients
- 7 pounds fresh paste tomatoes (such as Roma), peeled, cored, and chopped
- 2 cups chopped yellow onions
- 2 cups chopped bell peppers (any color)
- 1 cup chopped jalapeño peppers (seeded for mild, leave seeds for hot)
- 6 cloves garlic, finely minced
- 1/2 cup finely chopped fresh cilantro
- 3/4 cup bottled lime juice (required for safe acidity)
- 2 teaspoons ground cumin
- 2 tablespoons canning salt
- 1 teaspoon black pepper
- 1 teaspoon sugar (optional, to balance acidity)
Shopping List
- Produce: 7 pounds fresh Roma tomatoes
- Produce: 2 medium yellow onions
- Produce: 2 medium bell peppers
- Produce: 4-6 fresh jalapeño peppers
- Produce: 1 bulb garlic
- Produce: 1 bunch fresh cilantro
- Pantry: 1 bottle lime juice (must be bottled for consistent acidity)
- Pantry: Ground cumin
- Pantry: Black pepper
- Pantry: Sugar
- Baking & Spices: Canning and preserving salt
Equipment Needed
- Water bath canner with rack
- 6 pint-sized canning jars with bands and new lids
- Large pot for cooking salsa
- Slotted spoon
- Jar lifter and magnetic lid wand
- Canning funnel
- Bubble remover or plastic spatula
- Large bowl for ice bath
- Sharp chef’s knife and cutting board
Helpful Tips
- Prioritize Bottled Juice: Always opt for commercial bottled lime juice instead of freshly squeezed. Bottled juice has a standardized, reliable pH level which is absolutely critical for safe preservation and preventing botulism.
- Select Meaty Tomatoes: Choose paste tomato varieties such as Roma or San Marzano. These cultivars have thicker walls, denser flesh, and fewer seeds, which naturally yields a rich, thick salsa rather than a watery one.
- Respect the Proportions: To maintain a safe level of acidity, do not alter the overall measurements of low-acid ingredients like peppers and onions. You can, however, swap hot peppers for mild ones as long as the total volume remains identical.
- Enhance with Roasting: For a deeper, slightly smoky complexity, try charring your peppers and onions under the broiler or over a grill before chopping them and adding them to the pot.
Step-by-Step Instructions
- Prepare the canning equipment: Wash jars, lids, and bands in hot, soapy water. Place the clean jars into your water bath canner, fill with water, and bring to a simmer to keep them hot until ready to use.
- Blanch and peel the tomatoes: Bring a large pot of water to a boil. Cut a small ‘X’ on the bottom of each tomato. Dip them into boiling water for 30-60 seconds until the skins start to split, then immediately transfer them to an ice bath. Slip the skins off, core them, and chop them into your desired salsa consistency.
- Combine ingredients: In a large, non-reactive pot, combine the chopped tomatoes, chopped onions, bell peppers, jalapeños, minced garlic, cilantro, bottled lime juice, cumin, canning salt, black pepper, and sugar.
- Simmer the salsa: Bring the mixture to a boil over medium-high heat, stirring constantly to prevent scorching. Reduce the heat and let it simmer uncovered for 15-20 minutes, stirring occasionally, until it reaches your desired thickness.
- Fill the jars: Carefully remove a hot jar from the canner and drain it. Use a canning funnel to ladle the hot salsa into the jar, leaving exactly 1/2-inch of headspace at the top.
- Remove air bubbles and seal: Run a bubble remover or plastic spatula down the inside of the jar to release any trapped air. Wipe the rim of the jar clean with a damp paper towel. Center a hot lid on the jar and screw the band down until it is fingertip-tight.
- Process the jars: Lower the filled jars back into the canner, ensuring they are covered by at least 1-2 inches of water. Bring the water to a rolling boil and process pint jars for 15 minutes (adjust for altitude if necessary).
- Cool and check seals: Turn off the heat, remove the canner lid, and let the jars sit in the hot water for 5 minutes. Use a jar lifter to remove the jars and place them upright on a towel-lined countertop. Let them cool undisturbed for 12 to 24 hours. Check that the lids have popped and are sealed tightly before storing.
Variations & Serving Ideas
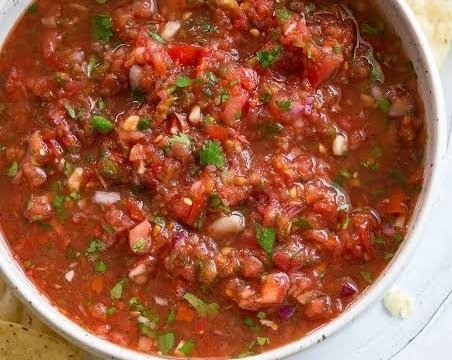
Pair this zesty, garden-fresh salsa with your favorite tortilla chips, or spoon it generously over sizzling fajitas, cheesy quesadillas, and morning scrambled eggs. It also functions beautifully as a tangy marinade for grilled chicken or slow-cooked pork. Keep any opened jars refrigerated and use them within three weeks; unopened, properly processed jars will remain delicious in a cool, dark pantry for up to twelve months.
We absolutely love seeing your kitchen triumphs, so please let us know how your home-canned salsa turned out! Leave a comment below with your favorite ways to enjoy this classic preservation recipe.