
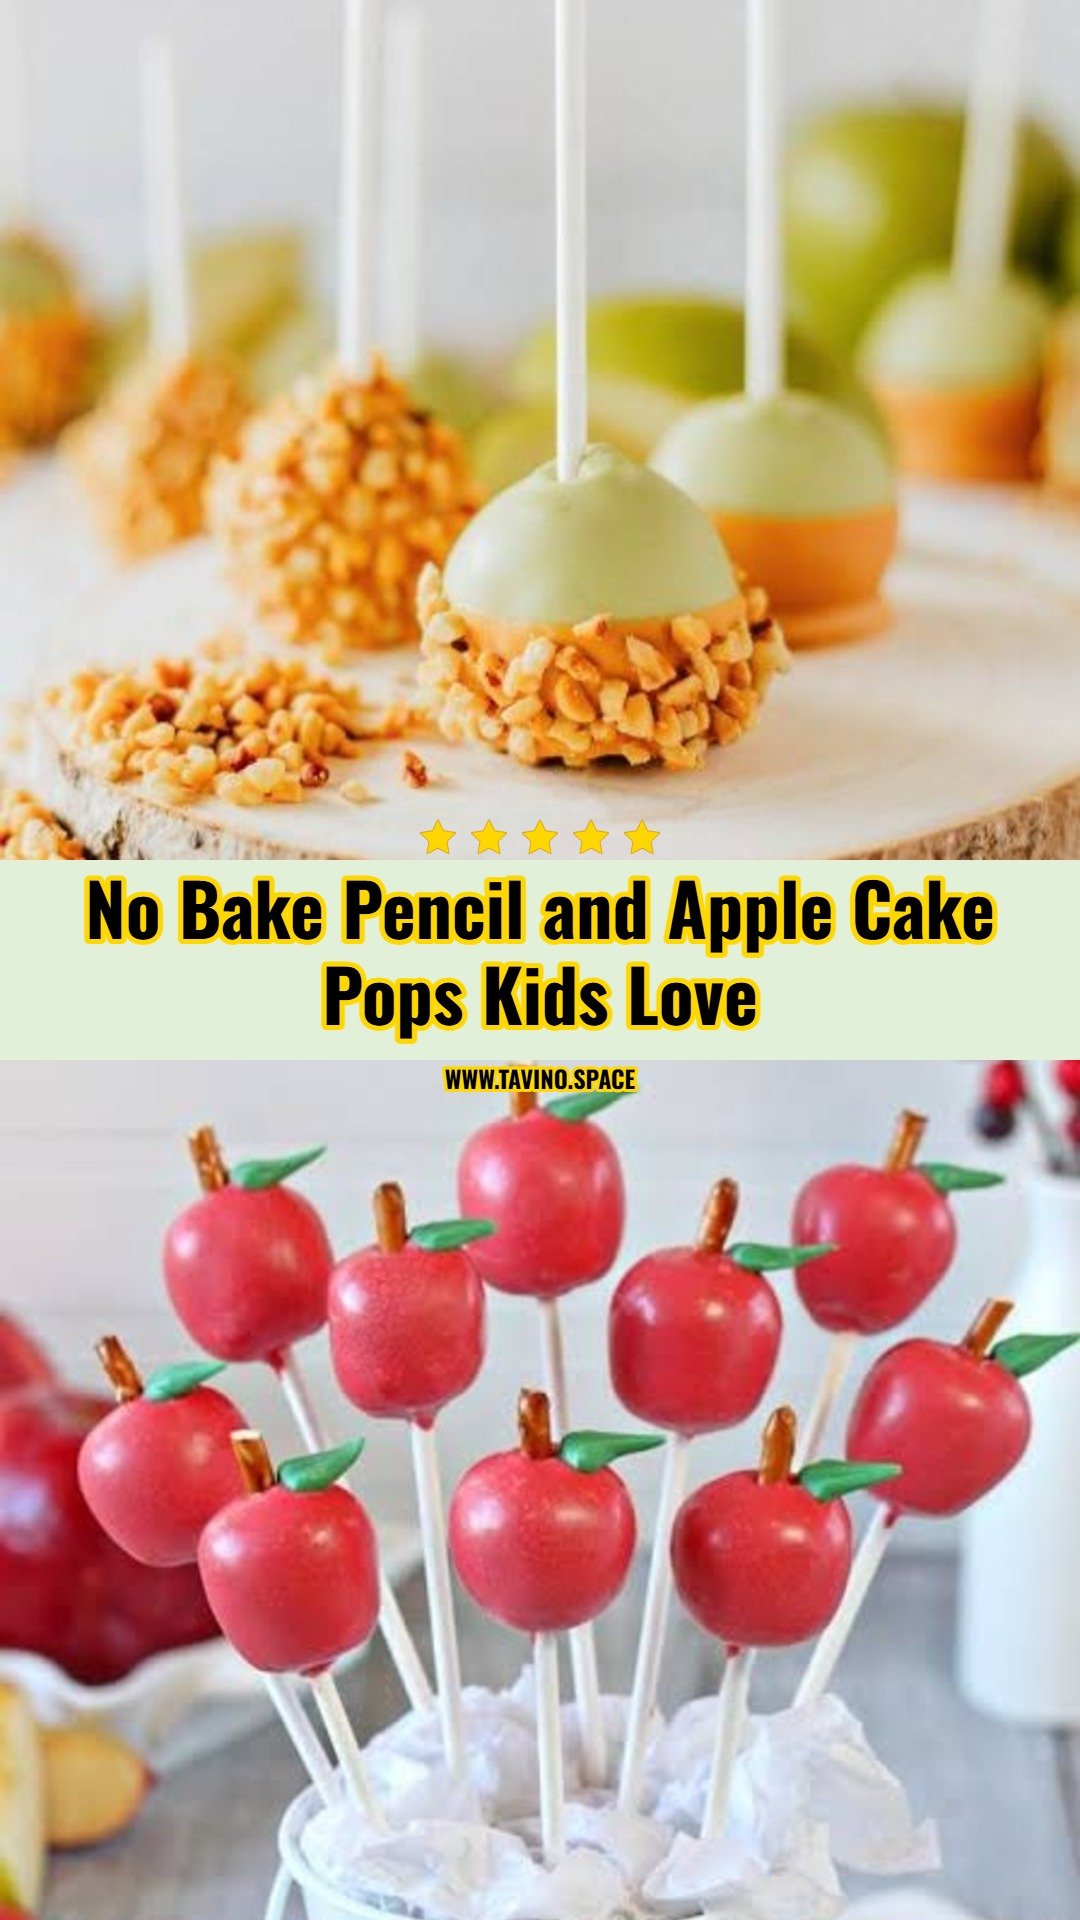
As autumn leaves begin to fall and school hallways fill with laughter, welcoming the new academic year calls for a truly magical kitchen celebration. Crafting sweet memories with your little ones does not require hours of baking when you can assemble these charming, vibrant treats together. 🍎
By combining moist sponge cake and creamy frosting, you can easily sculpt edible red apples and bright yellow pencils that taste as incredible as they look. They make the perfect surprise to pack in a school lunch or a heartwarming gift to welcome a new teacher. ✏️🏫
Get ready to watch your kids’ creativity bloom as they help dip and decorate these whimsical delights for their first week of classes. Let us walk through the simple steps to make this fun back-to-school tradition a sweet success. 👩🍳
45 minutes
0 minutes
1 hour 15 minutes
Makes 12 cake pops
Ingredients
- 1 store-bought pound cake (approx. 12 oz), crumbled
- 1/3 cup ready-to-spread vanilla frosting
- 12 oz yellow candy melts
- 12 oz red candy melts
- 2 tbsp coconut oil, divided
- 12 lollipop sticks
- 1/4 cup dark chocolate chips, melted
- 12 pretzel sticks, broken into small pieces
- 12 green leaf sprinkles
Shopping List
- Produce: Coconut oil
- Dairy & Eggs: Ready-to-spread vanilla frosting
- Pantry: 1 store-bought pound cake, dark chocolate chips, pretzel sticks
- Baking & Decorating: Yellow candy melts, red candy melts, green leaf sprinkles, lollipop sticks
Equipment Needed
- Large mixing bowl
- Baking sheet
- Parchment paper
- Microwave-safe bowls
- Lollipop sticks
- Styrofoam block or cake pop stand
Helpful Tips
- Ensure your cake pops are thoroughly chilled before dipping; if the cake mixture is too warm, the balls will easily slide off or crumble into your warm candy coating.
- To achieve a flawless and glossy finish, melt the candy wafers slowly and stir in a tiny splash of coconut oil if the melted coating feels too thick or clumpy.
- Customize your flavors by experimenting with chocolate or lemon pound cake, or add a pinch of warm spices like cinnamon to the apple cake pops for a seasonal twist.
Step-by-Step Instructions
- In a large bowl, crumble the store-bought pound cake into fine crumbs using your hands.
- Add the vanilla frosting to the cake crumbs and mix thoroughly until a pliable dough forms that holds its shape when squeezed.
- Divide the mixture into 12 equal portions. Shape 6 portions into spheres for the apples, and 6 portions into cylinders with one pointed end for the pencils.
- Place the shaped cake pops on a parchment-lined baking sheet and freeze for 15-20 minutes until firm.
- While chilling, melt the yellow and red candy melts in separate microwave-safe bowls in 30-second intervals, stirring in 1 teaspoon of coconut oil into each to thin the consistency.
- Melt the dark chocolate chips in a small microwave-safe bowl and transfer to a ziplock bag with a tiny corner snipped off.
- Dip the tip of each lollipop stick into the melted candy melts and insert them halfway into the corresponding chilled cake shapes, then return to the freezer for 5 minutes.
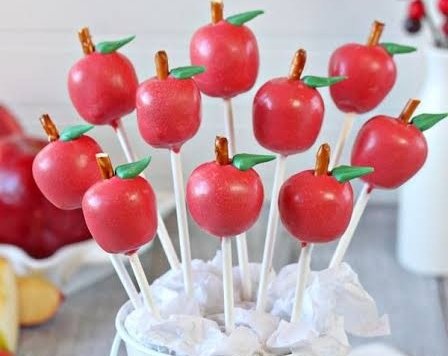
- Carefully dip each apple cake pop into the red candy melts, tap off excess, and insert a small pretzel piece and green leaf sprinkle at the top before it sets.
- Dip each pencil cake pop into the yellow candy melts, leaving the pointed tip uncoated. Once set, dip the very tip into the melted dark chocolate to create the pencil lead, and use the zipped bag to pipe pencil details.
- Place finished cake pops upright in a styrofoam block to dry completely for 15 minutes.
Variations & Serving Ideas
Present these vibrant cake pops standing upright in a lovely container filled with colorful candy or sugar crystals for a stunning dessert table centerpiece. For a thoughtful back-to-school gesture, wrap each pop in a clear cellophane bag, tie with a bright ribbon, and slip them into lunchboxes. Store any leftover pops in an airtight container in the refrigerator for up to 5 days to keep them fresh and delicious.
I hope these cheerful treats bring sweet smiles to your kitchen this school season. Let me know how your little artists enjoyed decorating them in the comments below!